Whether you are installing a shift light, or an after market tachometer, you will need to create a new, useable tachometer signal. The new Camaro does not have an available, readily accessible tachometer signal that we are aware of yet. To create a tachometer signal, you will need a model number 9117 AutoMeter tachometer adapter.
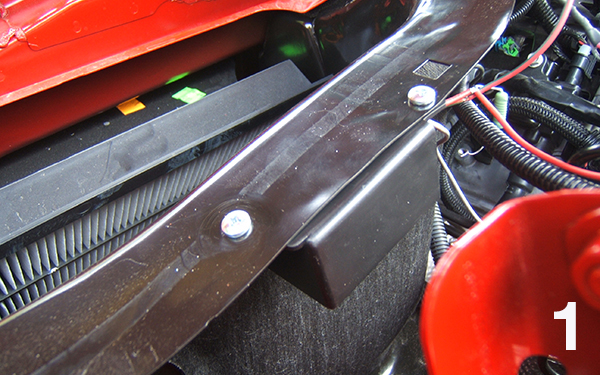
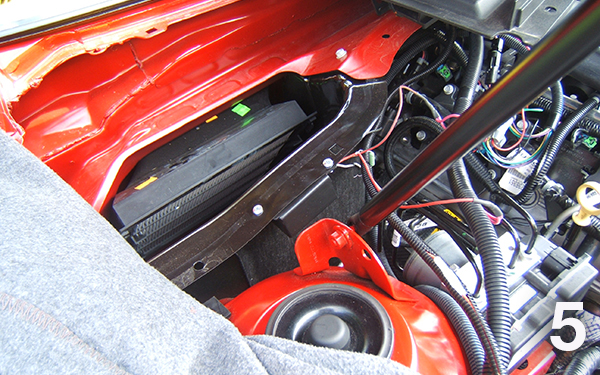
To start, we mounted ours under the passenger side cowl lip, in front of where the in cabin air filter is. We removed the plastic cowl cover and drilled two mounting holes. We use a pair of 10-32 screws & nuts to mount it with. Once the plastic cover is re-installed, it will hide the mounting hardware.
Zoomed out view of mounting location on the passenger side.
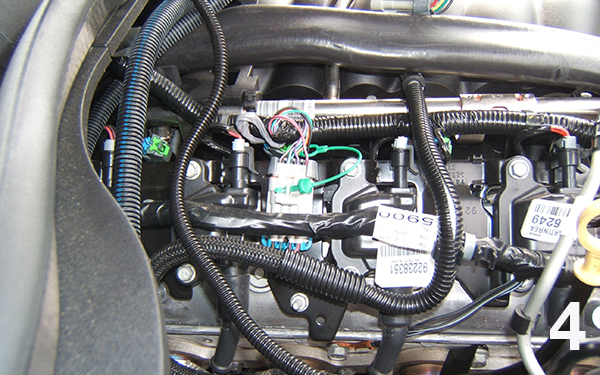
Next, locate the coil harness connector at each bank of coils, at the middle of each valve cover.
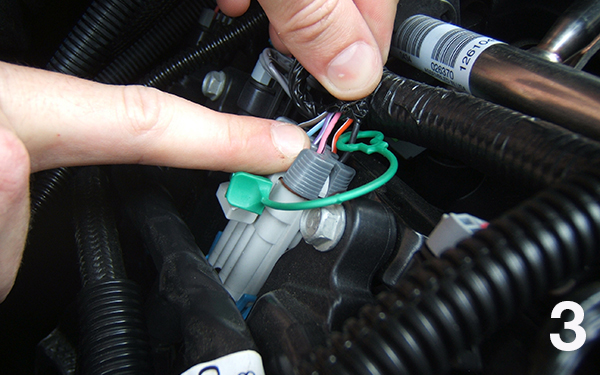
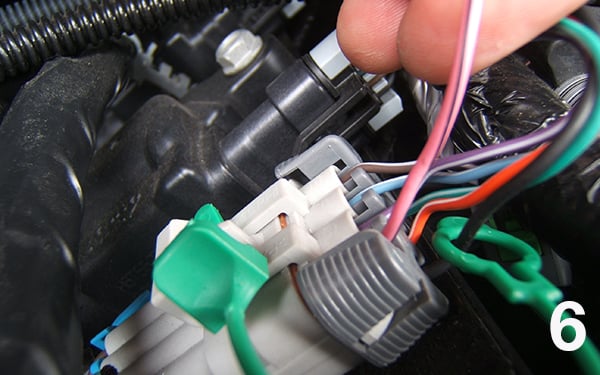
Now locate the pink wire with the black strip at each coil connector.
Zoomed in view for wire identification.
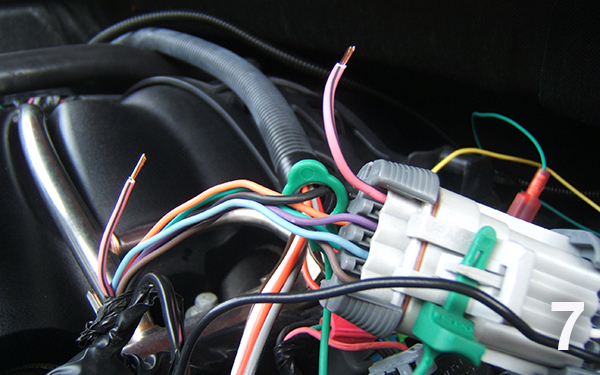
Cut this wire in half at each bank, and strip both ends of the now-cut pink/blk wire. (Only 1 side is shown, repeat this on the other side).
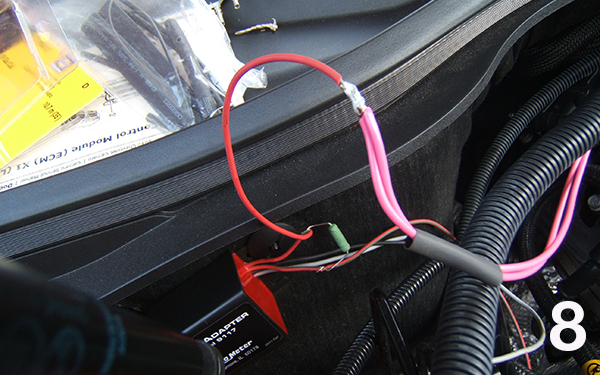
You may use any color of wire, but for this installation, we used pink wire to better match the factory wire colors. We used 16g, automotive, stranded wire. Now, use two new wires (16g) and connect to the “coil-side” cut pink/black wire at each bank. Now, run these together, and solder to the red wire with green stripe at the 9117. Use two new wires (16g) and connect to the “power-side” cut pink/black wire at each bank. Now, run these together, and solder to the red wire at the 9117.
We soldered our wires to the 9117, but per the customer’s request, we used single, weather pack connectors so the wiring could be easily unplugged, and factory wiring plugged back in without the adapter.
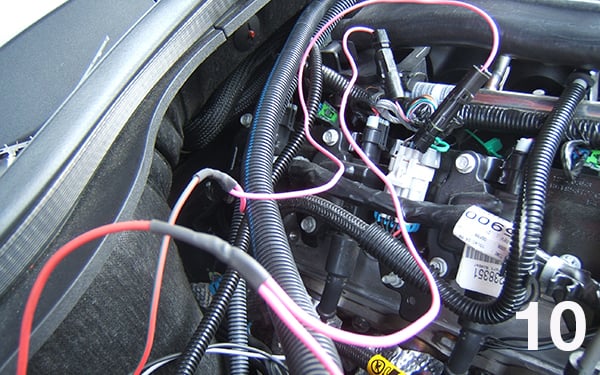
You can see the wiring complete for the right bank. You can also see the 2nd pink for the red and the red/grn wires of the adapter disappear. They simply continue to the left bank where they do the same thing. For the purposes of this write up we left the wiring exposed to help you see the product installation. When you have completed your installation you may conceal and secure your new wiring to provide a clean underhood appearance.
Run the black adapter wire to the chassis ground, and then run the gray adapter wire into the vehicle to serve as your new dedicated tachometer signal wire. In this case, we used ours to provide a signal the AutoMeter DPSS (Digital Pro Shift System) RPM activated control module #5312, which is controlling an AutoMeter Super-Lite Shift Light #5332. The signal output from the adapter will be a standard V8 signal (also known as 4ppr).
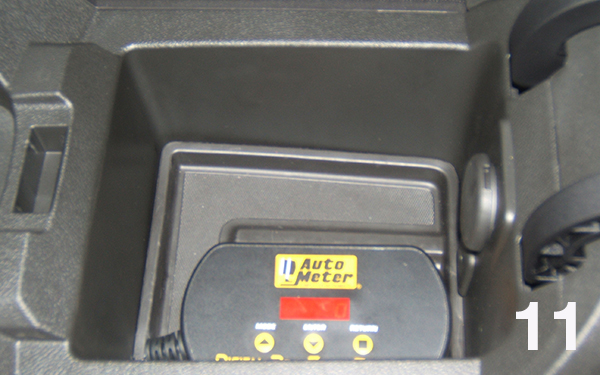
We mounted our module inside of the center console.
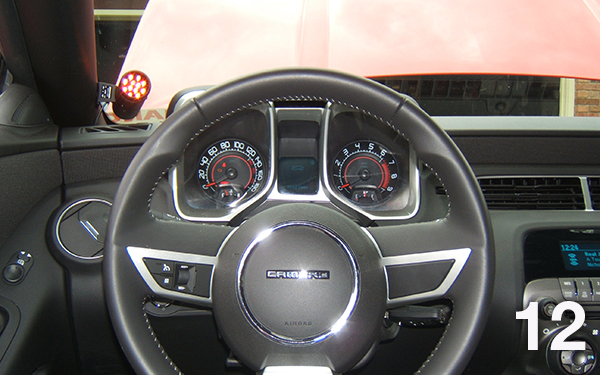
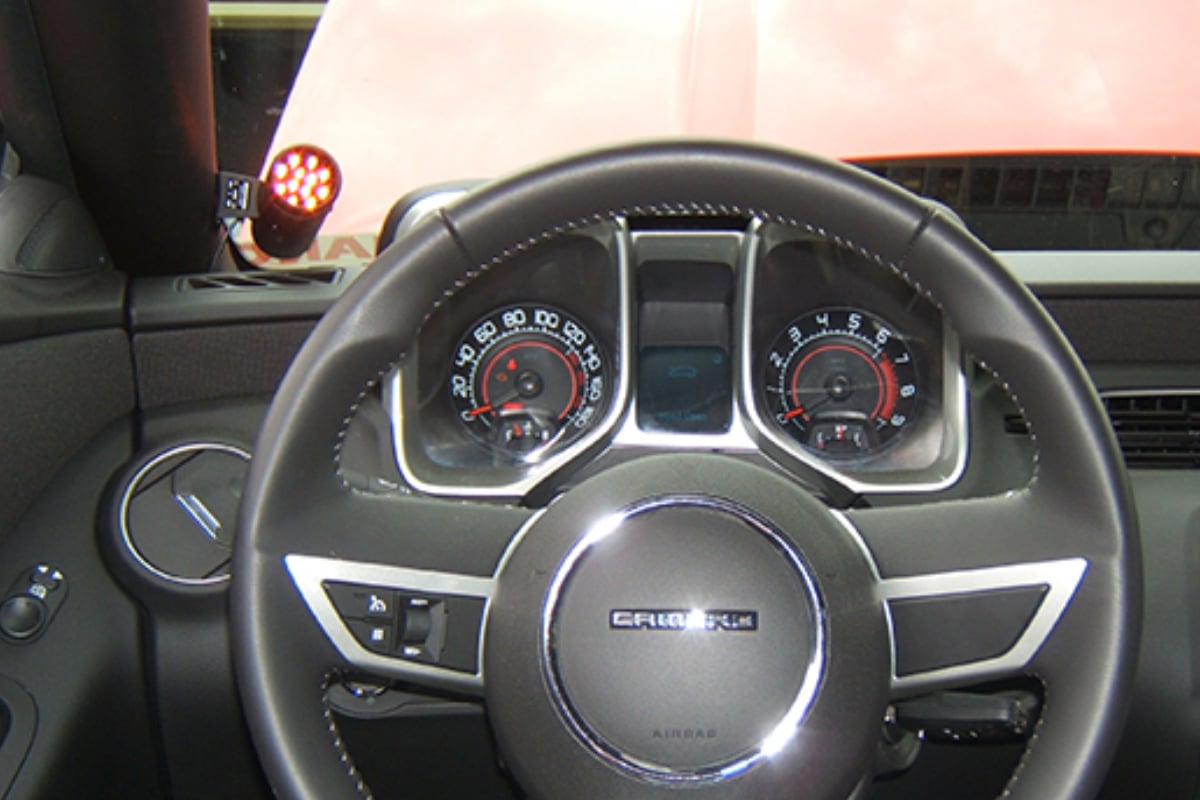
We mounted the shift light at the left side of the dashboard, on the pillar. Mounting it centered between the factory dash gauges would have fit exceptionally well, however would have blocked the view of the Driver Information Center.
